How to Add a Subdomain
In this article, you will learn how to add a subdomain in WePanel. Subdomains allow you to maintain a distinct identity for different parts of your site without requiring a new domain name. They are typically used for specific purposes like creating a blog, support portal, or test areas.
Getting Started
To get started, you first need to log into the WePanel through your Online Control Panel. Unsure how to do so? Follow our guide HERE
Step One
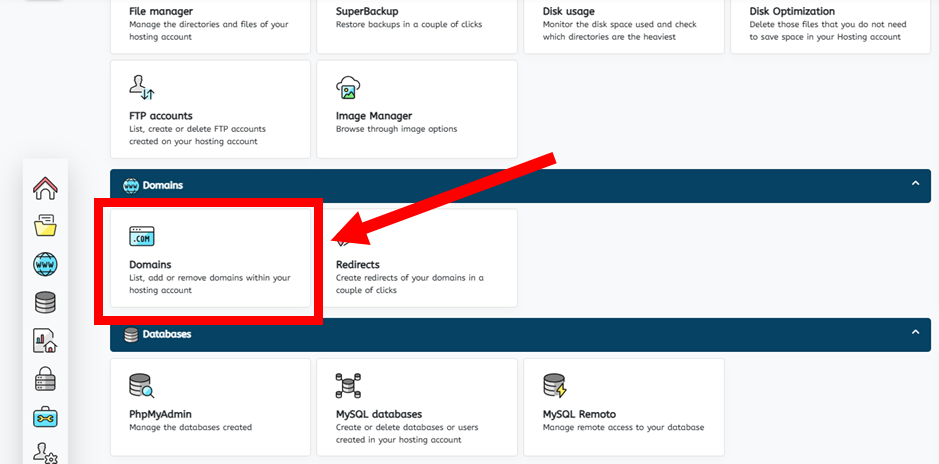
Go to the section titled Domains, then select the Domains panel.
Step Two
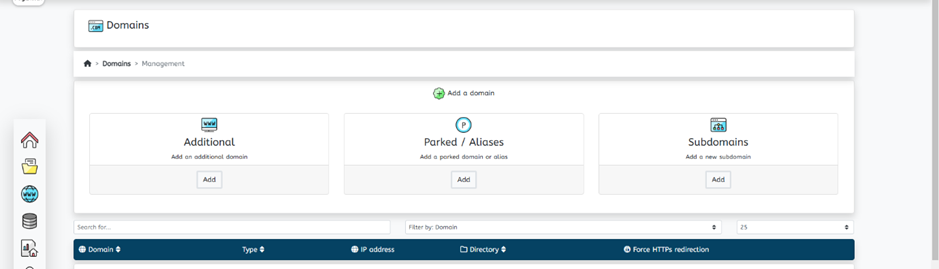
Select Subdomains < Add.
Step Three
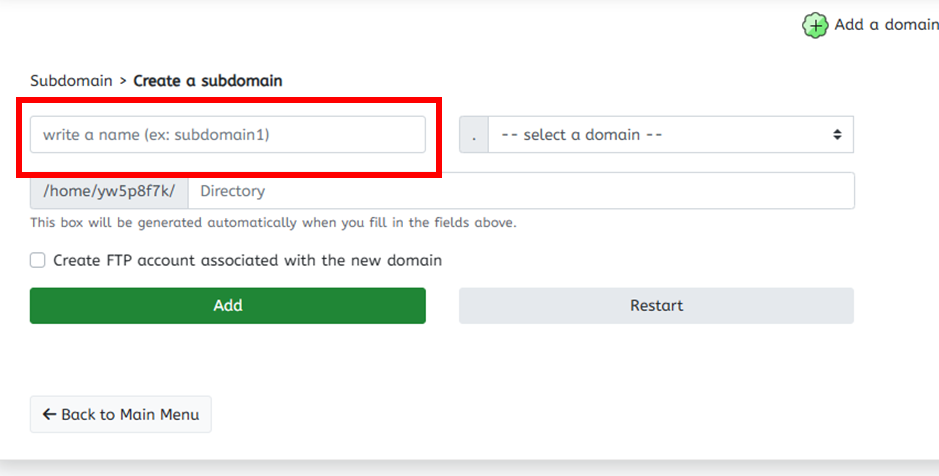
In the first field, write the name of the subdomain you wish to create e.g. test, shop, store etc.
Step Four
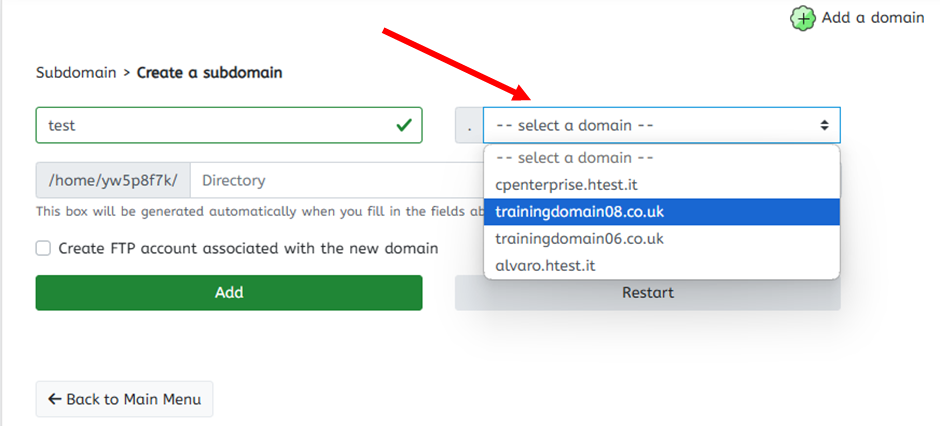
In the second field, select the root domain you want to create the subdomain for.
TIP: If the domain you are looking for isn’t present, you may have added it incorrectly. For assistance, you can refer to our guide on adding a domain in WePanel HERE
Step Five
The document root specifies the location where the files for this subdomain should be stored to be published and accessible online. While it can be changed, the document root is automatically set by WePanel, and modifying it is generally unnecessary.
You can also generate an FTP user for this subdomain by selecting Create FTP account associated with the new domain. You can choose to do this now or at a later time.
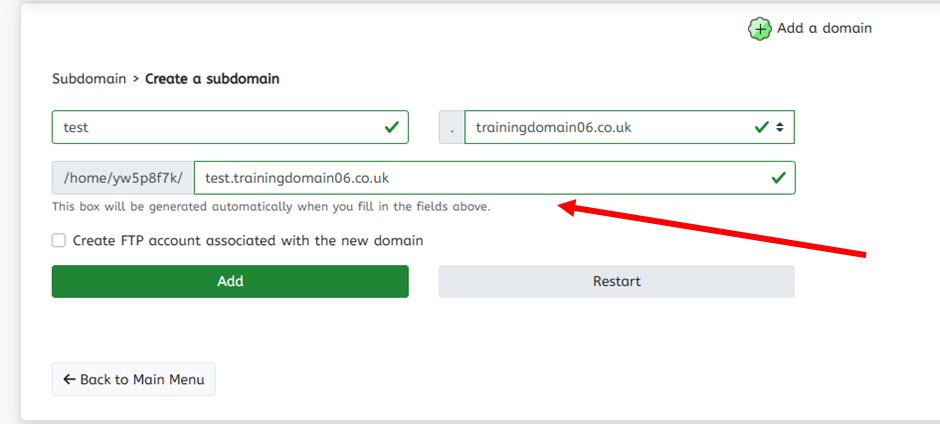
Step Six
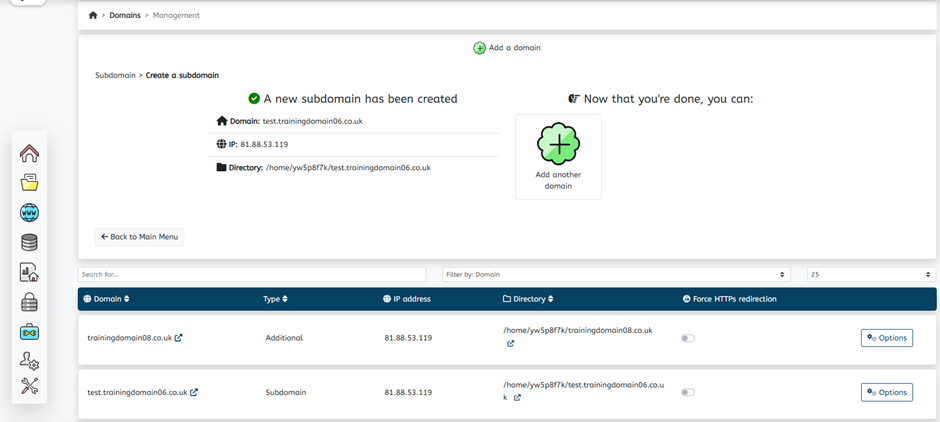
Once you have finished, click Add.
You will be shown a confirmation that the domain has been added successfully. From here, you can add another subdomain, or you can finish.
If you have any further questions, simply raise a support request from within your Online Control Panel or call us on 0345 363 3637. Our Support team are here to help and ready to assist you with your enquiry.
For assistance raising a support request please follow the following guide.