How to Add a Photo Gallery
Info: This article applies to Website Builder purchases made after 14th January 2025. For further assistance, please contact our support team.
In this article, you will learn how to add a photo gallery to your site.
Getting Started
To get started, you first need to log into the web builder through your Online Control Panel. Unsure how to do so? Follow our guide HERE
Step One
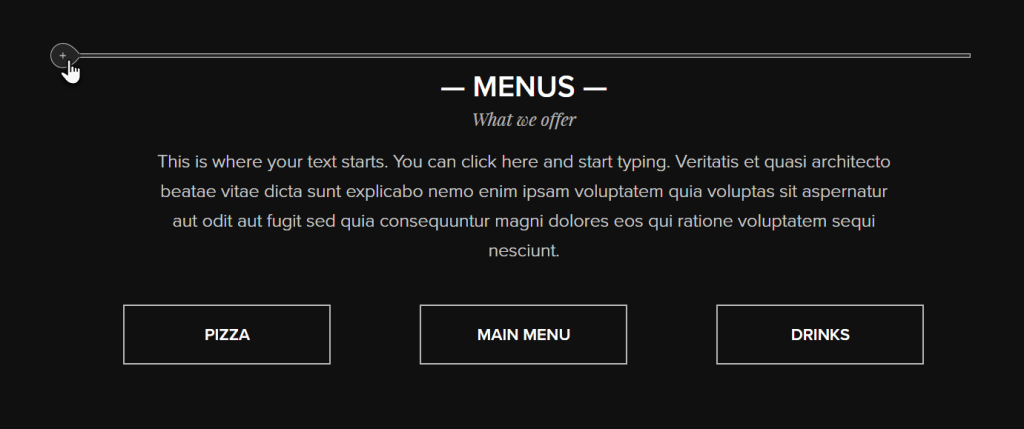
Position your mouse in the section so that the plus button for adding new content becomes visible.

Step Two
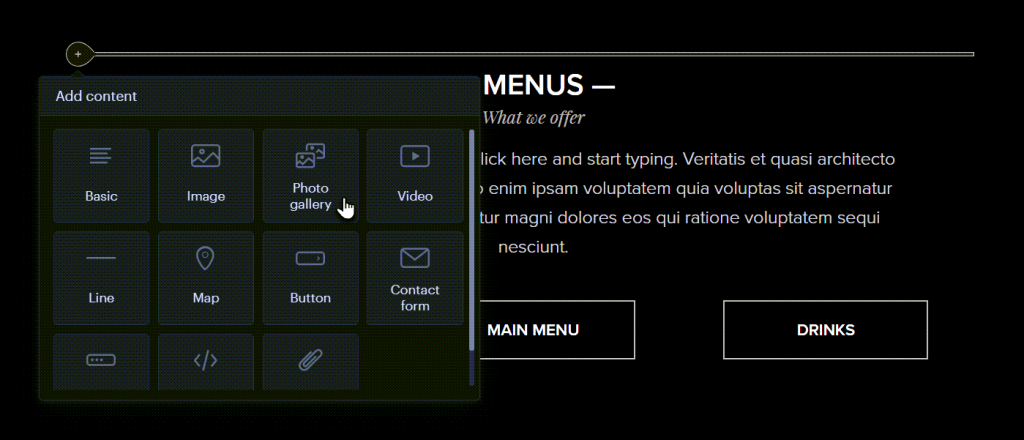
Click the plus button < Photo Gallery.

Step Three
Click Upload images.

Step Four
You can select the images on your computer you wish to add to this gallery.

Step Five
Here, you can make further edits or even delete images by clicking on the gallery. You can also configure a style and number of the columns.

Step Six
Click Edit to rearrange images by dragging them to your preferred order. Click on any image to edit its caption or delete it. To add more images, click Upload Images.

Once the desired changes have been made, you can (re)publish the site.
If you have any further questions, simply raise a support request from within your Online Control Panel or call us on 0345 363 3637. Our Support team are here to help and ready to assist you with your enquiry.
For assistance raising a support request please follow the following guide.