Getting Started with WooCommerce
Introduction
Our Managed WooCommerce product is designed to turn your WordPress website into a fully functional Online Store. This guide will go through how you access the powerful tool and how to get started selling your products online.
Table of Contents
- Accessing your Online Control Panel
- Managing your WooCommerce package
- Accessing the Setup Wizard
- Setting up WooCommerce through the WordPress Dashboard
Step One
Navigate to our website lcn.com
Once on the website, choose “Log in” found on the top right-hand side of the page and log into your Online Control Panel. If you need assistance with this, please follow this guide.
Step Two
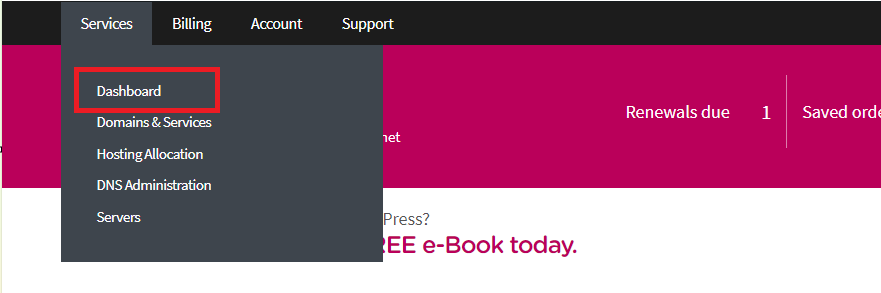
Once you have successfully logged into your Online Control Panel, navigate to the “Services” tab and from the drop-down menu choose “Dashboard”.
Step Three
From the page of domains, you can now choose the “Manage Hosting” button highlighted in blue.

Step Four
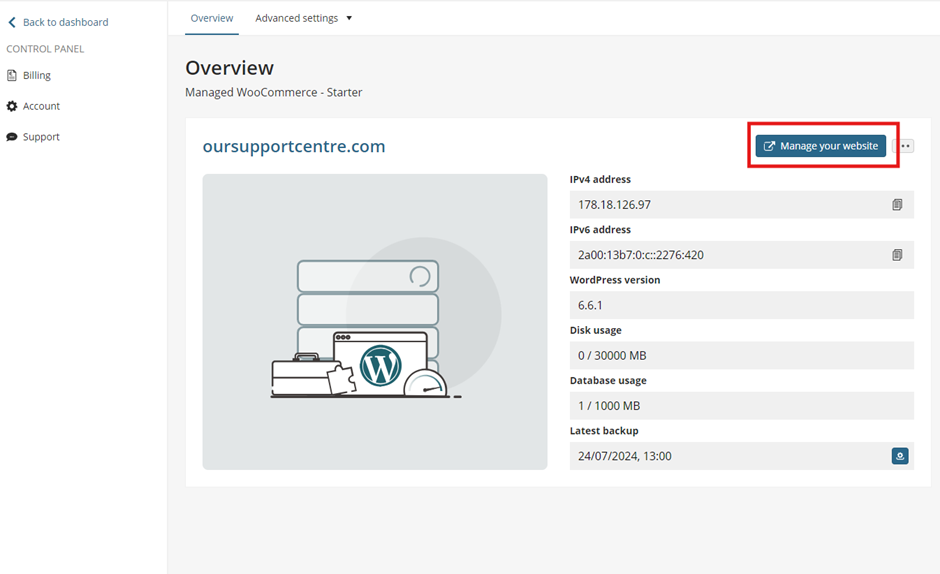
The Managed WooCommerce Overview page will now load. Please choose the link highlighted in blue saying “Manage your website”.
Step Five
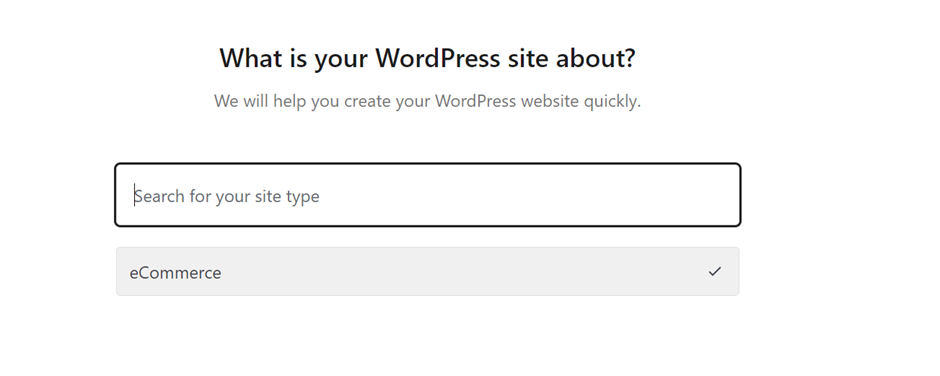
The WordPress setup Wizard will now open, and this will go through multiple steps to get your website started. Firstly, it will ask you to categorise what your website is about, whether this is an ecommerce website or what industry this is for.
Step Six
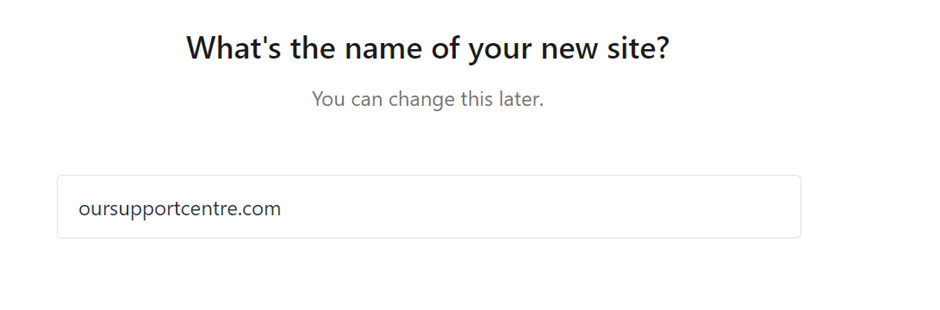
The next step in the guide will ask you to enter your new site name:
Step Seven
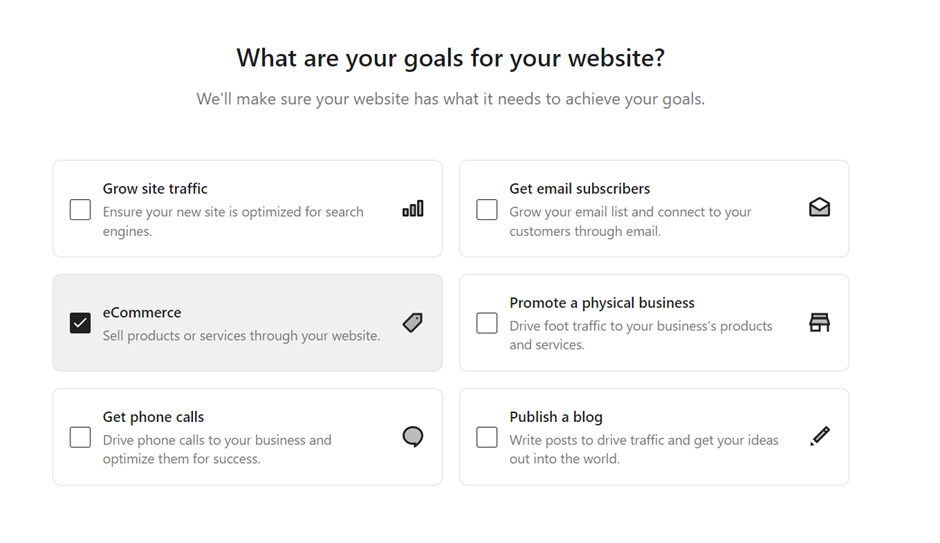
You will now be met with a page asking you to specify the main goals of your website. You may have multiple goals such as growing site traffic and selling products online.
Step Eight
On the next page, you’ll be able to pick the design style of your website. This can be changed later if required. Our WordPress system will choose multiple styles to try and suit your brand, select your preferred style.

Step Nine
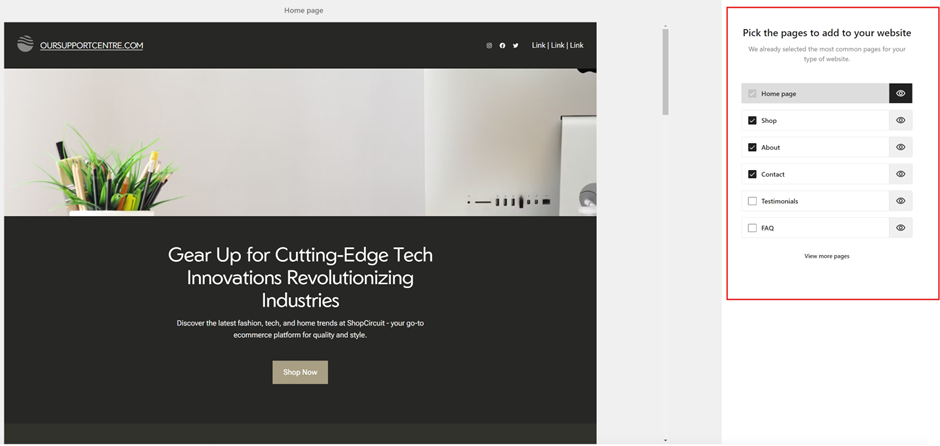
The next step allows you to choose what pages you would like on your website. You can leave the preselected pages, or you can add or amend some pages that you would like to be displayed.
Step Ten
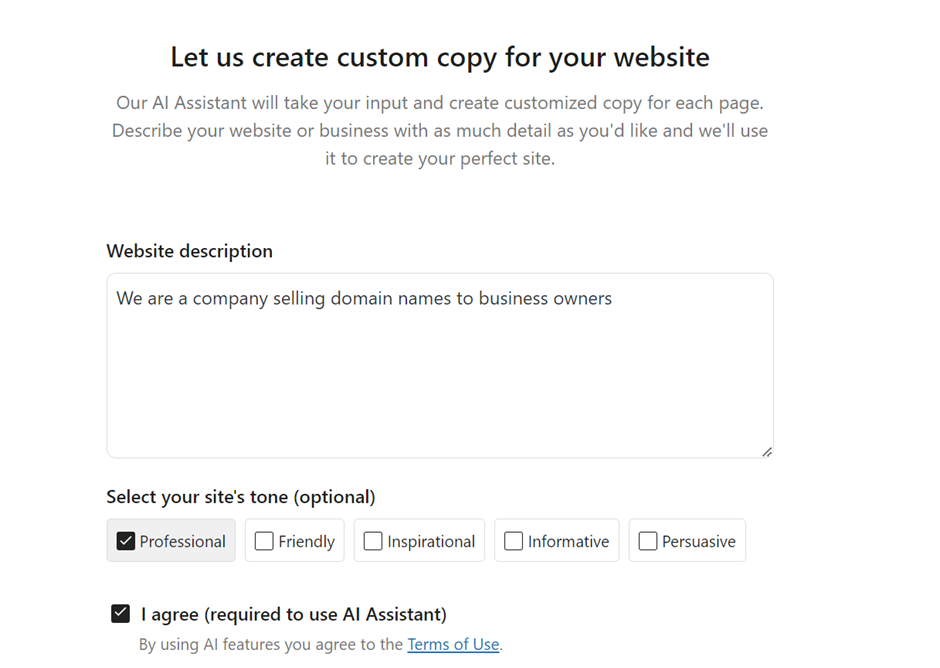
The last part of the Setup Wizard will ask you for the website description, and it uses an AI tool to create your images and content based on what you write in this section. We advise putting enough information that can be used throughout your website.
Step Eleven
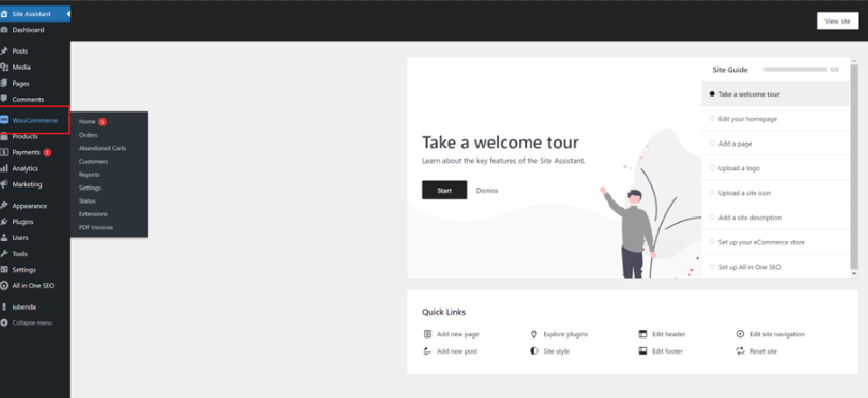
Now you’ve completed the initial setup, it may take up to 15 minutes for the Setup Wizard to compile your website starting point. Once completed, you can start adding your ecommerce functionality with the WooCommerce setup wizard. To gain access to this part you will need to click on “WooCommerce” on the left-hand side of the page.
Step Twelve
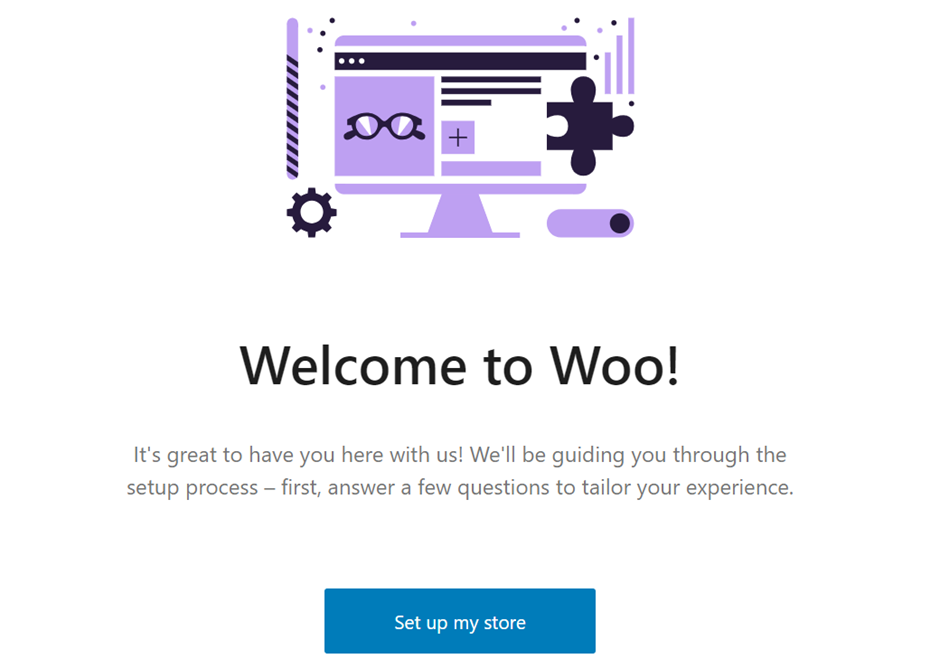
We’ll now look at the setup of your ecommerce functionality This will allow you to start a store within your current WordPress website. Firstly, you will need to choose “Set up my Store” to begin.
Step Thirteen
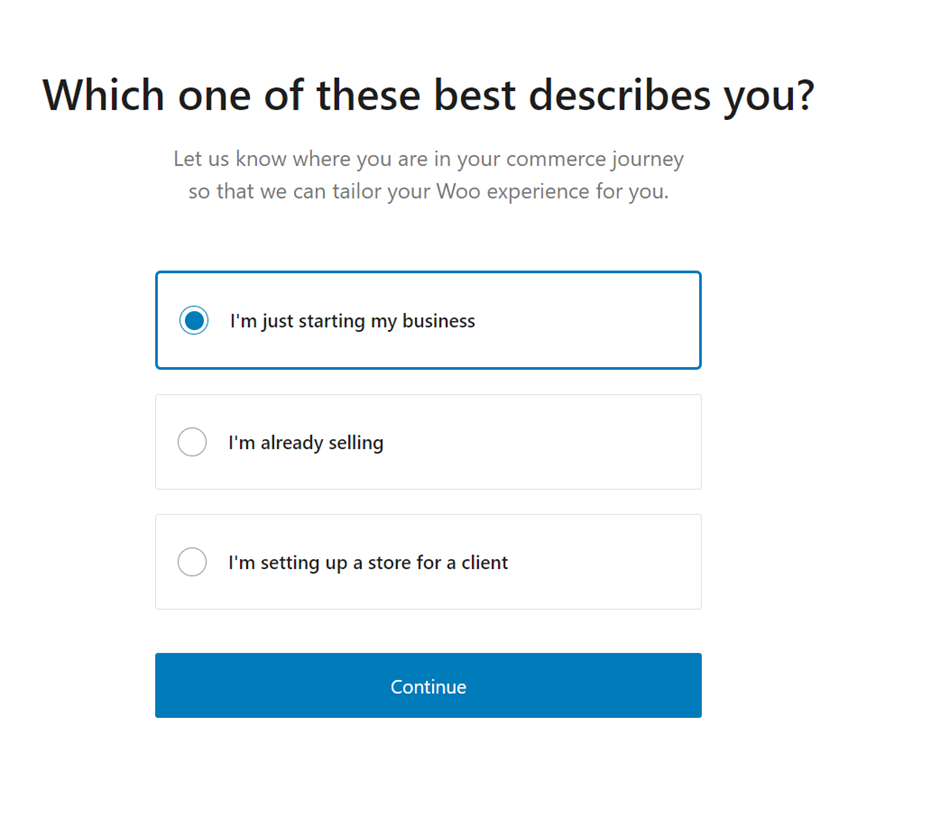
Choose whether you are starting your Online business, or whether you are already selling online or setting up a store for a client and choose continue.
Step Fourteen
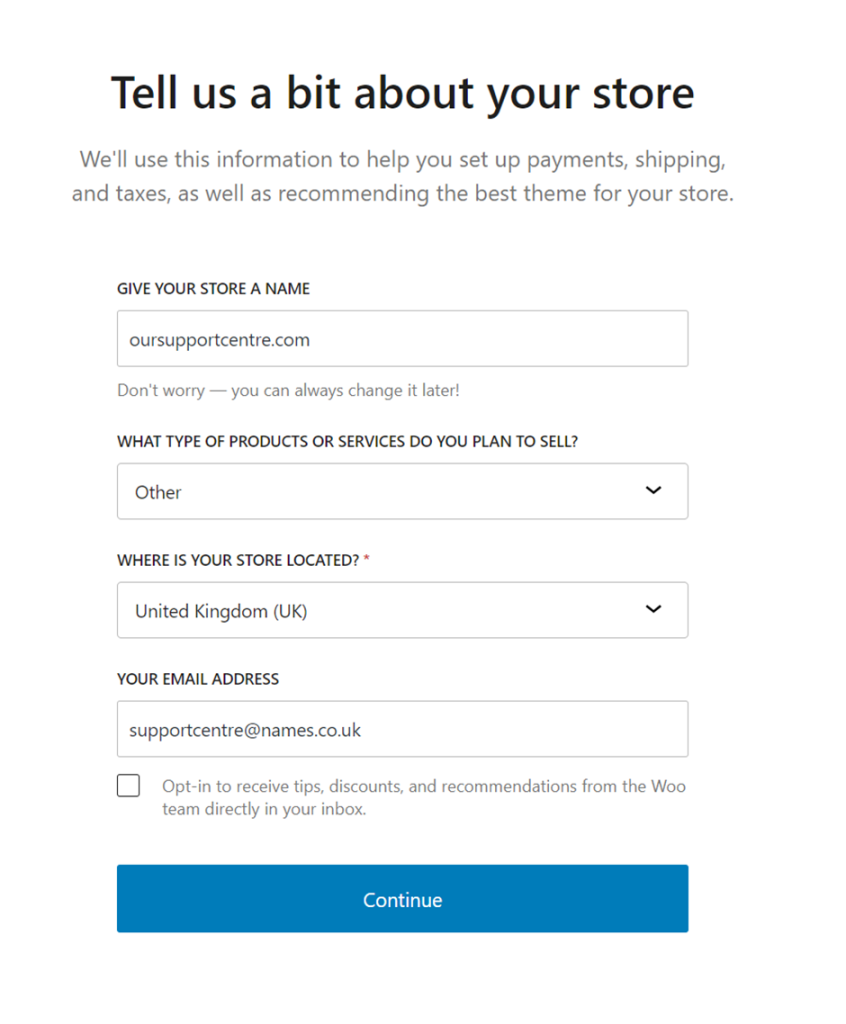
Fill in the information requested in the next stage, where it will ask what services you sell (if your product is not listed, select “other”), where the store is located and your email address.
Step Fifteen
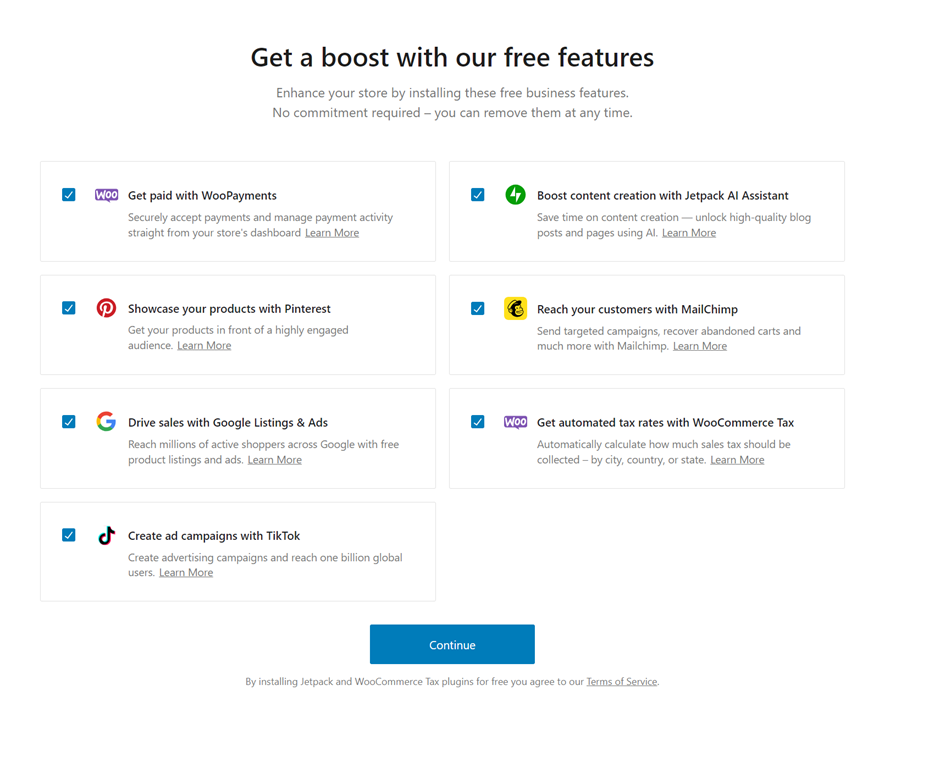
WooCommerce offers plenty of free features that can be useful for your website and business. The next stage goes through some suggested options, please read through these to chose if any of these options would be beneficial. Once chosen, please choose “Continue”
Step Sixteen
The last step will ask you to log in to your existing WordPress.com account or to fill in your details to create an account. Please note, this is not the account you use to log into your WordPress dashboard.
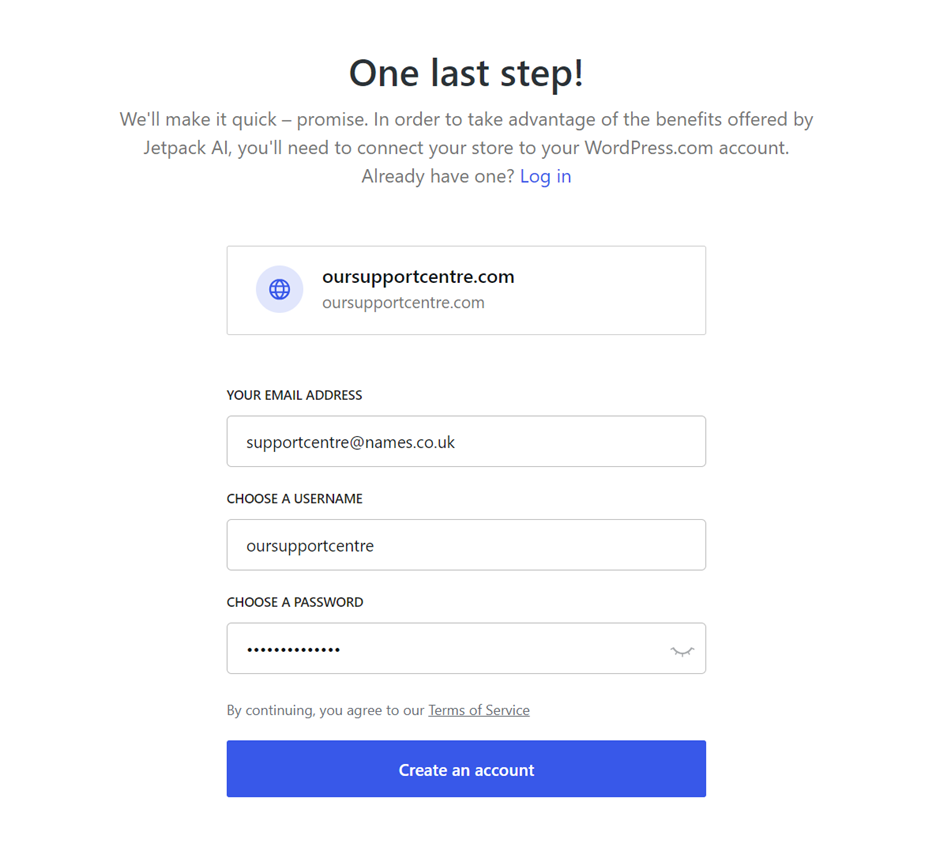
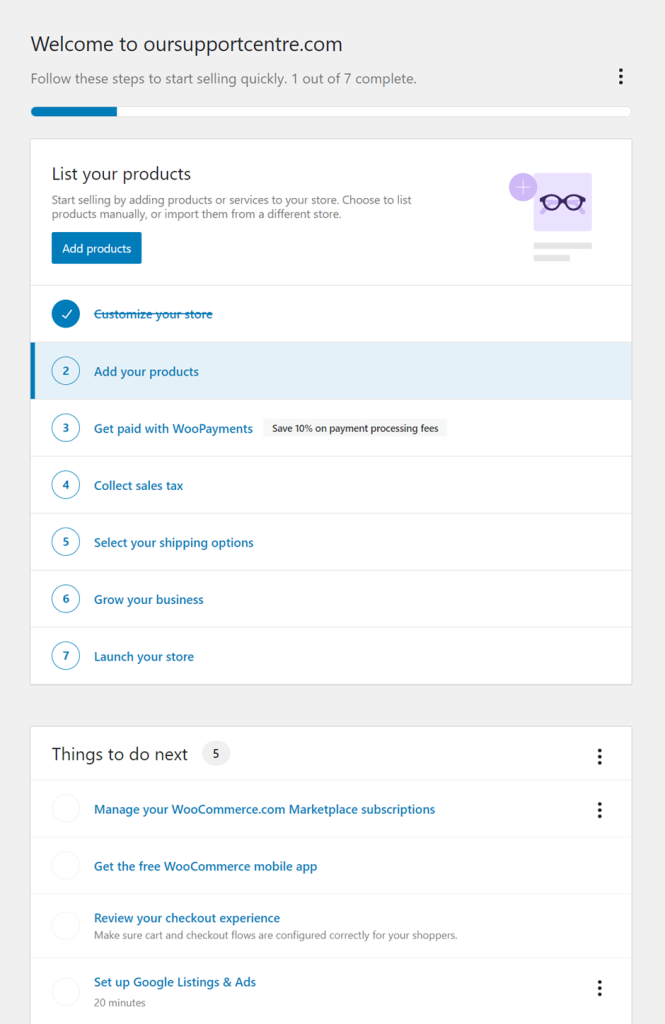
Step Seventeen
Once the setup is completed its time to get started by adding your products, setting your payment options, selecting shipping options and launching your store on your website. If you follow through all the steps in this section, you will selling online in no time.
If you need more help setting up your website in WordPress we have some useful articles that go into this in more detail found here.
If you have any further questions, simply raise a support request from within your Online Control Panel or call us on 0345 363 3637. Our Support team are here to help and ready to assist you with your enquiry.
For assistance raising a support request please follow the following guide.